In order to provide complete functionality this website needs consent to store browser cookies. If you don't allow cookies, you may not be able to use certain features on the website including, but not limited to; log in, or order services. It is recommended that you allow cookies.


How to Make a Fresh Flower Arrangement with Floral Foam

It’s so easy to gather, cut and place flowers into vases, jugs and bottles and display around your home, but did you know you can level up your arrangements by using OASIS® Floral Foam?
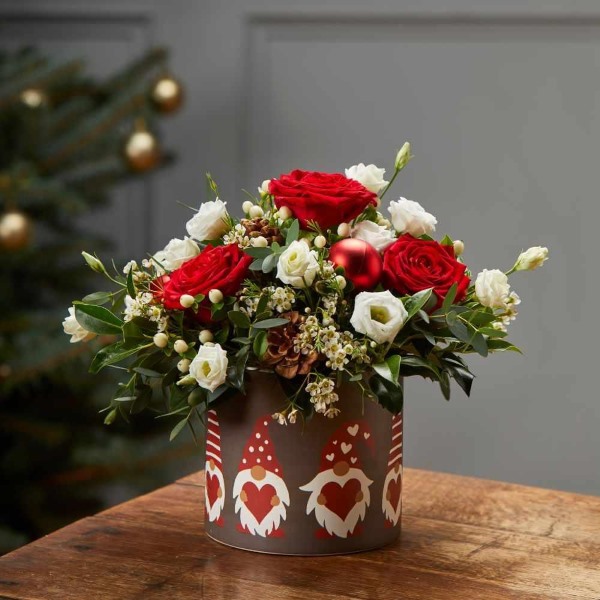
From hat boxes to table arrangements, you will find OASIS® Floral Foam at the base of many different types of floral containers, holding the arrangement securely together but also providing a water source for fresh flowers.
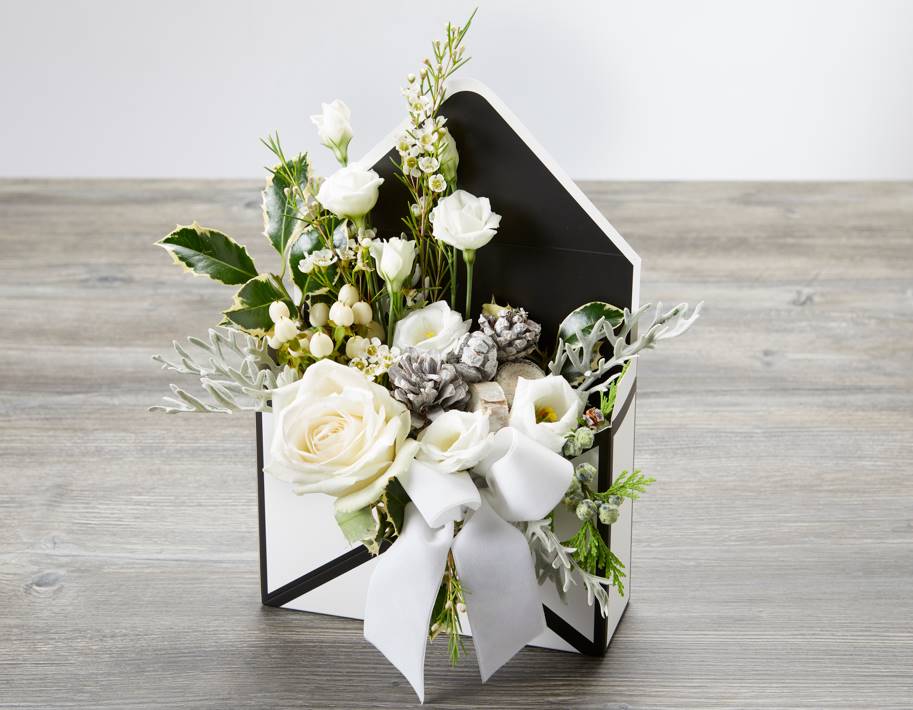
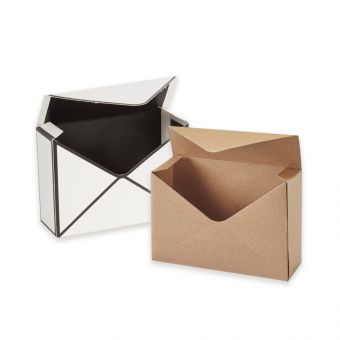
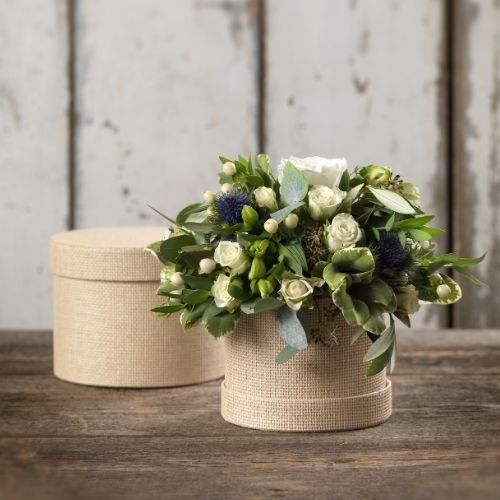
In this blog, we are going to show you how to make a fresh flower arrangement with floral foam, featuring our gorgeous Envelope Boxes. Our Envelope Boxes make the perfect gift for a loved one or you can even display proudly in your home. Let’s get started!
What you’ll need to arrange flowers in floral foam:
- Pack of 10 Envelope Boxes
- OASIS® Floral Foam Brick
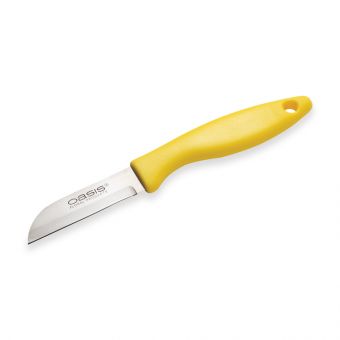
- OASIS® Floral Knife
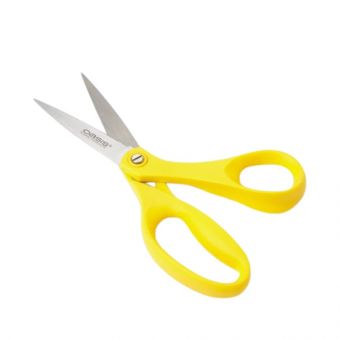
- OASIS® Floral Scissors
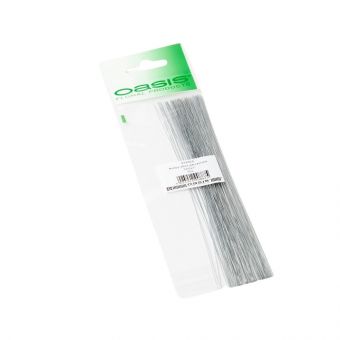
- Stub Wire (Optional)
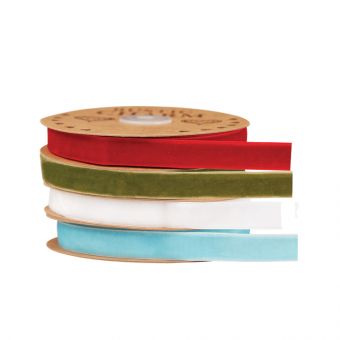
- Mia Velour Ribbon (Optional)
Top Tip: Our Envelope Boxes come flat-packed in packs of ten. This means you can easily store them away and keep them on hand for birthdays, anniversaries or whenever you fancy getting creative with flowers. Our Envelope Boxes also come in different colours too, so you can find one for any season or occasion!
How to Make an Envelope Box Flower Arrangement with Floral Foam
Step 1 – Prep Your Box
The first thing you need to do is assemble your Envelope Box so it sits upright.
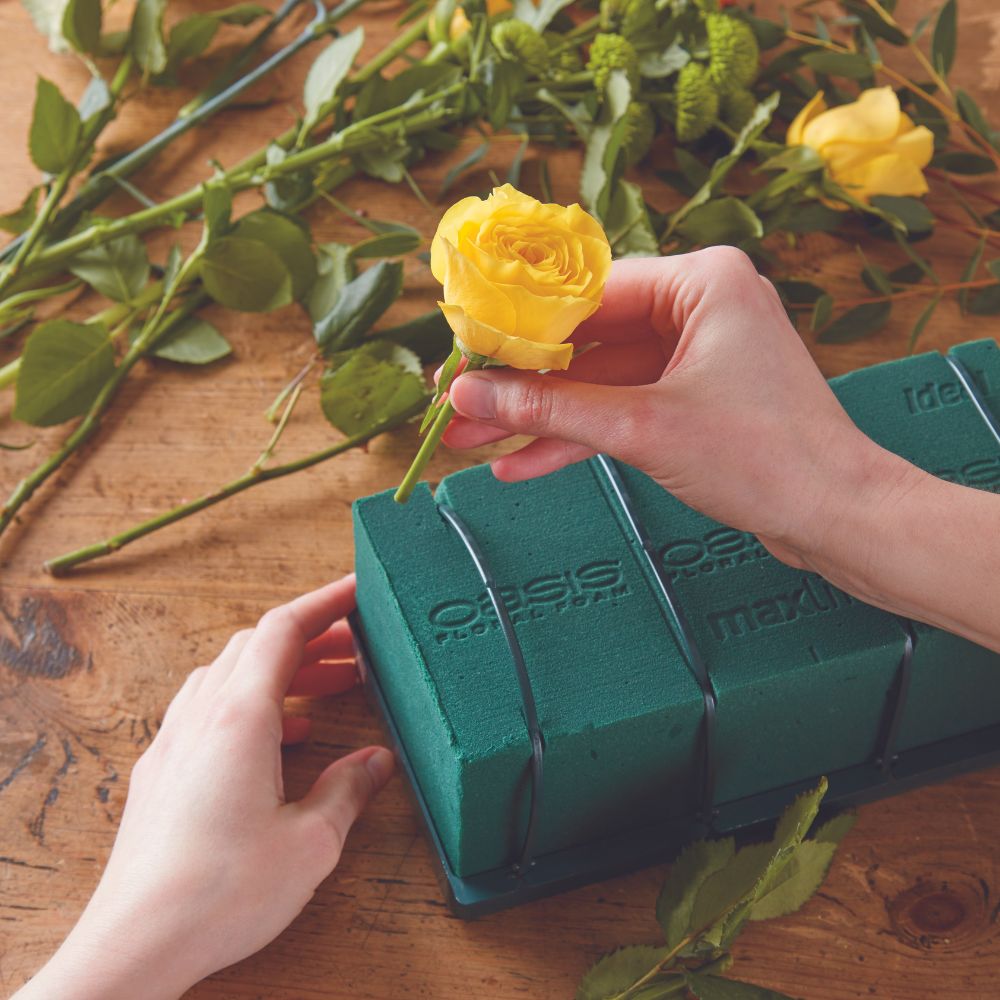
Next, measure and cut your OASIS® Floral Foam Brick to size and soak in a container or sink full of fresh water for around 1-2 minutes.
Place the plastic liner provided in the Envelope Box and insert the soaked OASIS® Floral Foam into the box.
Top Tip: If you’re brand new to the world of OASIS® Floral Foam, don’t forget to read our complete beginner’s guide to OASIS® Floral Foam, full of tips and tricks for novices (and for those who just want a refresher!).

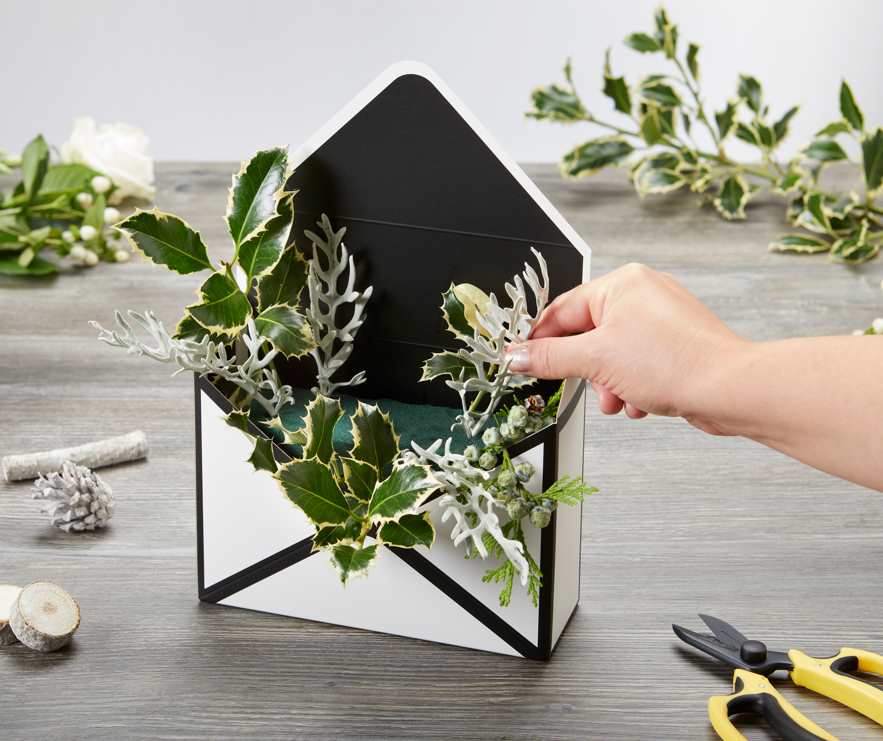
Step 2 – Get Creative
Now it’s time to get creative! Gather your flowers and foliage, measure the stems against the Envelope Box and cut the stems to size with your floral scissors.
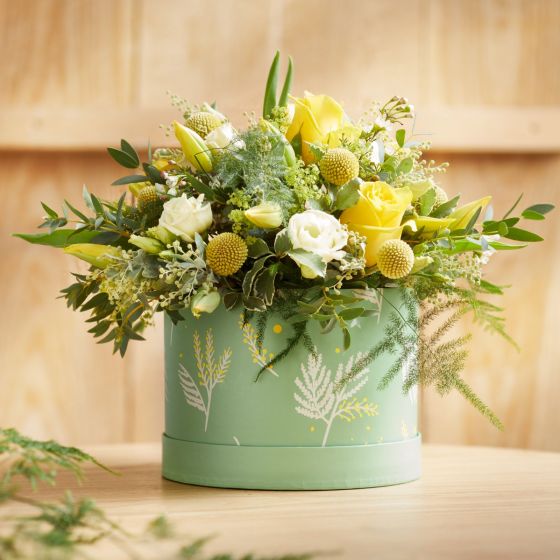
You can either go with a cute, compact design and cut the stems quite short or keep some stems taller – it’s up to you! For our design, we cut and inserted longer stems at the back of the Envelope Box, then added shorter stems at the front.
Have a play around with your arrangement and, when you think you’re finished, stand back and review your masterpiece. Chances are, you may want to fill in gaps with extra bits of flowers, foliage or even decorative floral accessories.
Step 3 - Finishing Touches
Once you’re happy with your flower arrangement, it’s time for the finishing touches. These are optional extras, and it depends on what look you are going with.
We finished our design with a velour bow. To do this, we created a bow with our Mia Velour Ribbon, then wrapped stub wire around the middle and inserted into the Floral Foam to keep it secure. If you’re not sure how to use floral wire, you could glue your bow to the Envelope Box with floral adhesive or tack instead.
You can even personalise your Envelope Box flower arrangement by writing a message or name on box. The possibilities are endless!

We hope you’re now feeling inspired and confident with how to make a fresh flower arrangement with floral foam! This Envelope Box creation is a simple flower arrangement idea that makes an impact, and is a great way to get familiar with OASIS® Floral Foam.
For more inspiration and guides on how to make OASIS® flower arrangements, be sure to check out our blog and social media channels. We’re always keeping up-to-date with our Instagram, Facebook, YouTube and Pinterest, and we’d love to see your floral foam creations, so please give us a tag!
About the Author
Related Products

20 Easy Christmas Flower Arrangement Ideas for Your Home
December 1, 2022


Step-by-Step Guide on How to Make Your Own Christmas Wreath
November 14, 2022

A Beginners Guide to OASIS® Floral Foam
September 23, 2022
How to Make a Fresh Flower Arrangement with Floral Foam
January 16, 2023
Trending: Patterns & Pastels
August 30, 2023
Spreading the Sunshine
May 26, 2023
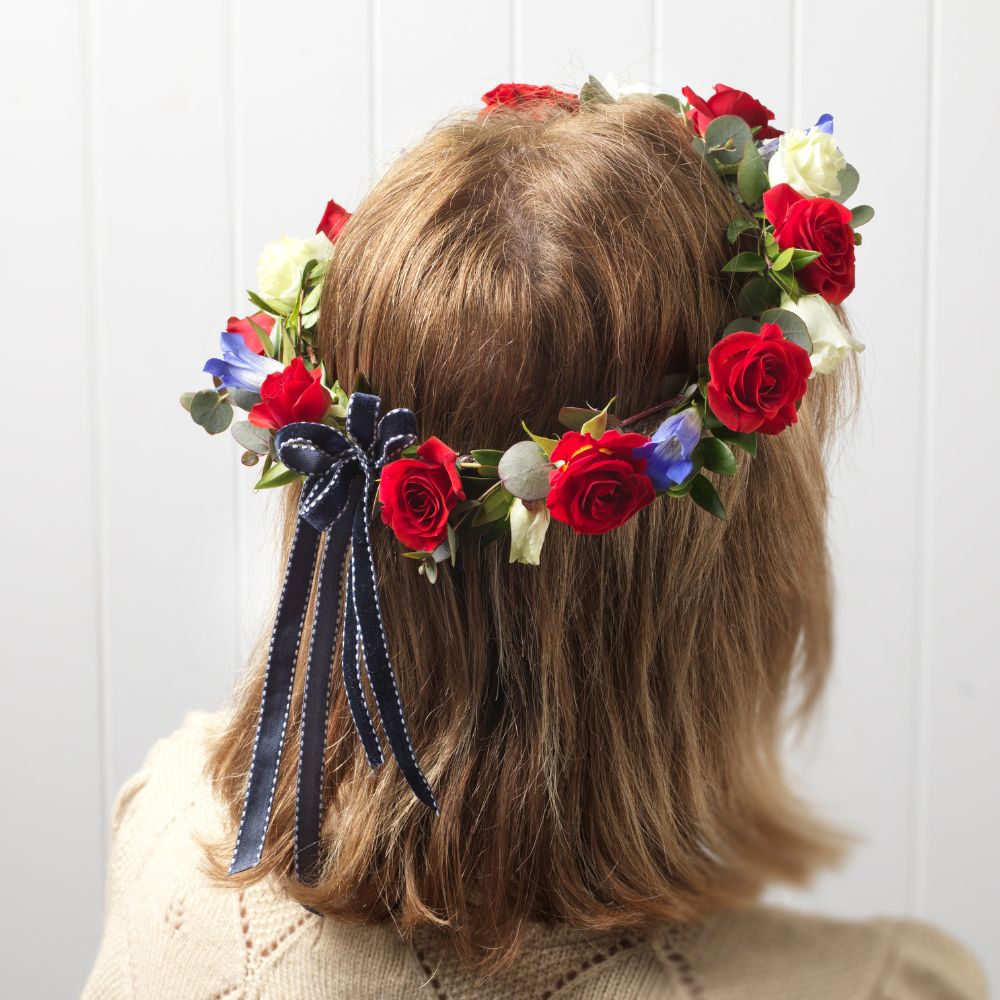
How to: Coronation Flower Crown
April 12, 2023
The Best Easter Flowers and their Meanings
March 30, 2023
What are the Most Essential Tools for Flower Arranging?
March 13, 2023