In order to provide complete functionality this website needs consent to store browser cookies. If you don't allow cookies, you may not be able to use certain features on the website including, but not limited to; log in, or order services. It is recommended that you allow cookies.


How to: Coronation Flower Crown

The King’s Coronation is less than a month away (scribble 6th May in your diary) and what better way to celebrate than with flowers!
With an extra Bank Holiday to look forward to, it’s time to start planning something fun and crafty and it doesn’t get more regal than a flower crown!
Hosting a party? Why not make flower crowns for all your guests (or guests of honour)? Or make a day of it and gather loved ones and host your very own flower crown class!
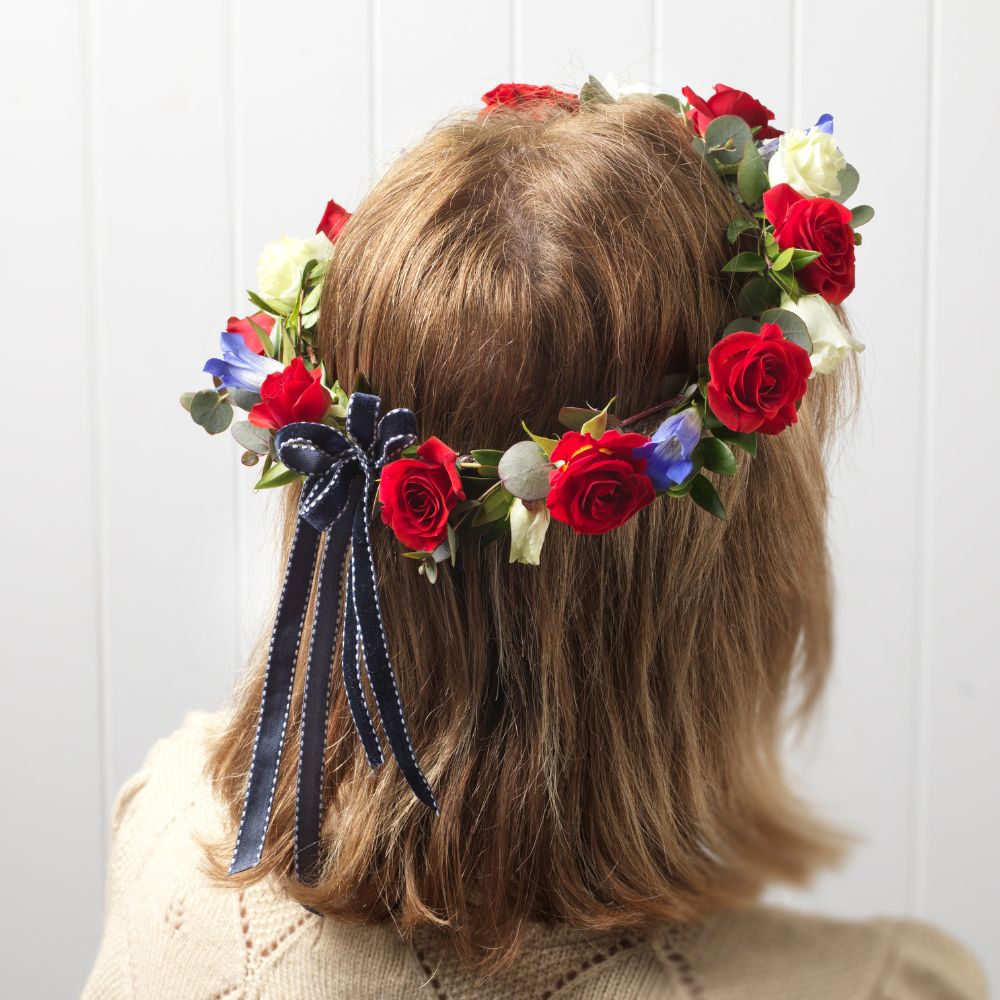
Fully embrace the Coronation theme and adorn your crowns with red, white and blue/violet blooms! We’ve put together a super easy step by step below – follow along and have fun!
Shopping List
Flowers and Foliage of your choice (we went with Red Spray Roses and Eucalyptus).
Step 1
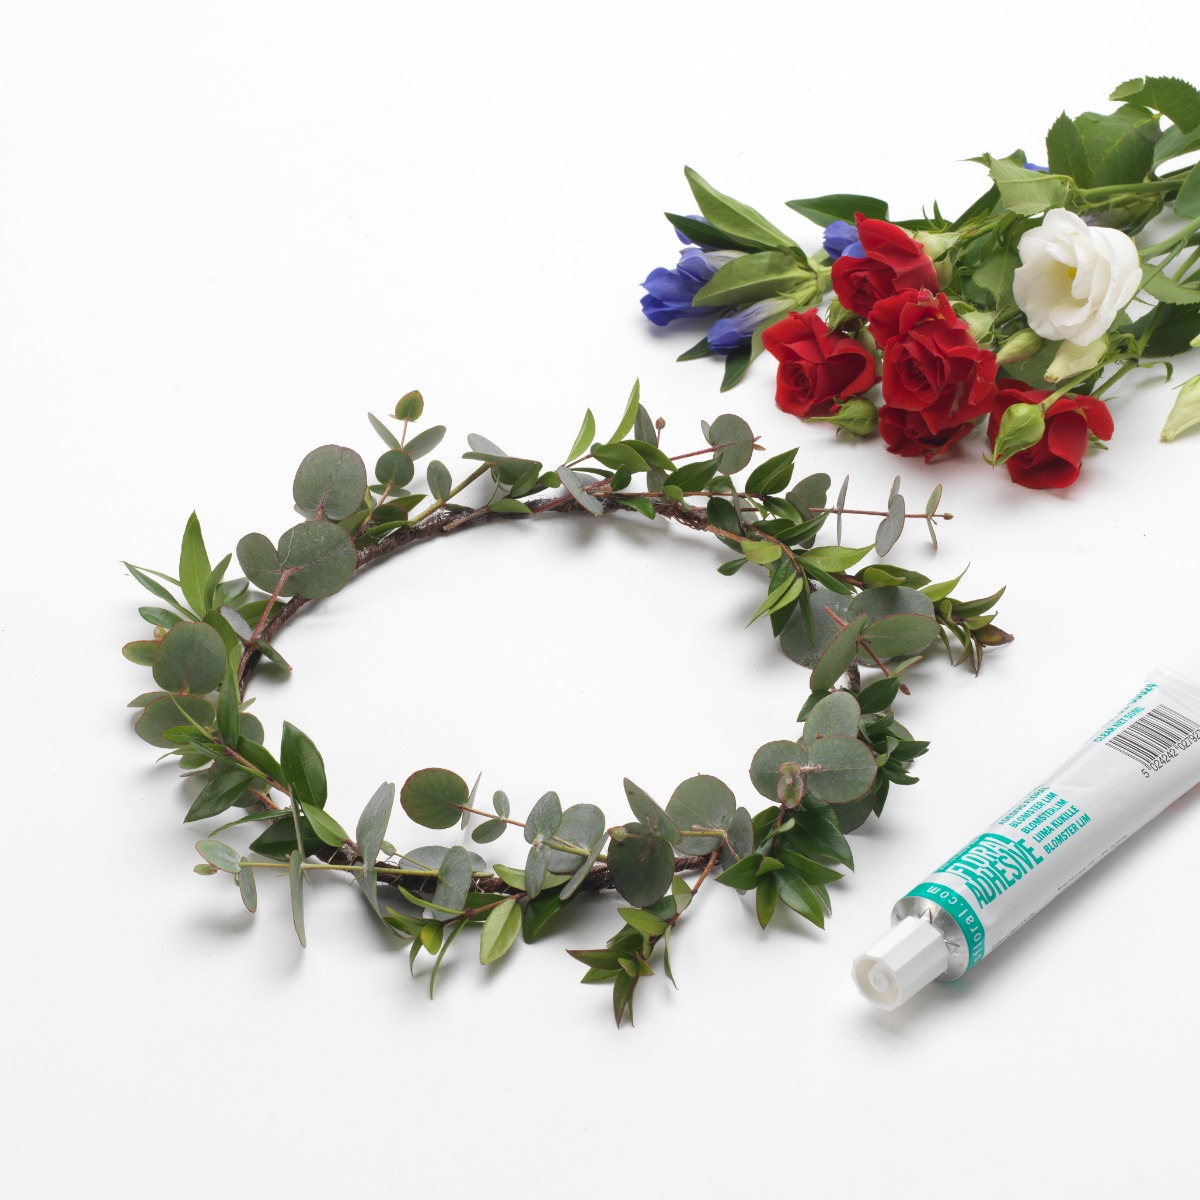
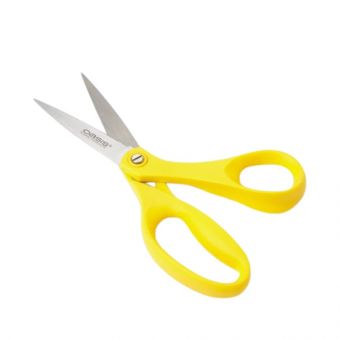
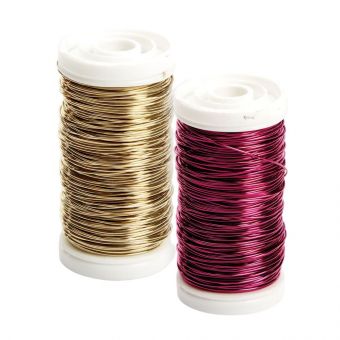
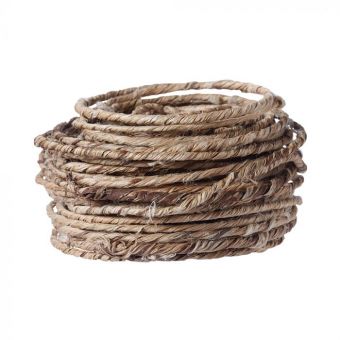
First, create the crown shape! Make a loop with Rustic Grapevine Wire to the size of the wearers head. Cut using OASIS® Wire Cutters and bind the two ends together with wire.

Step 2
Now gather our foliage. Cut to size and wrap around the headband, spiralling in one direction. Use wire to bind into place. Now you should start to see your crown taking shape!
Step 3
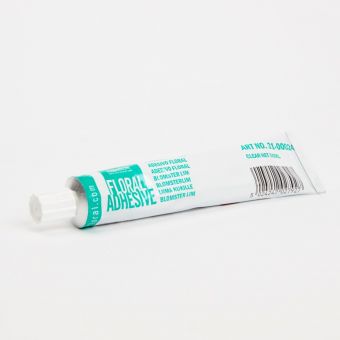
If you are happy with your foliage (you can use as little or as much as you like, it depends on your style) it is now time to add a pop of colour with flowers. We have made this super easy, by cutting and using OASIS® Floral Adhesive to glue flowers head in place around the crown. Again, you can use as many or as little flowers as you like – it depends how big you want to go!
Step 4
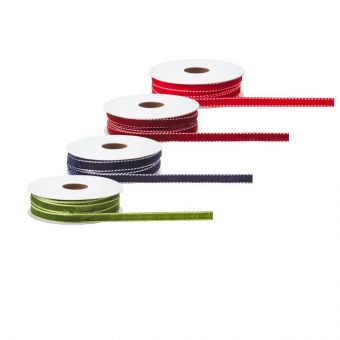
Now it is time for the finishing touches (and this is an optional extra). Finish off your crown with Amy Velour Ribbon in a trailing bow – we went with the navy ribbon as it works beautifully with the regal colour scheme!
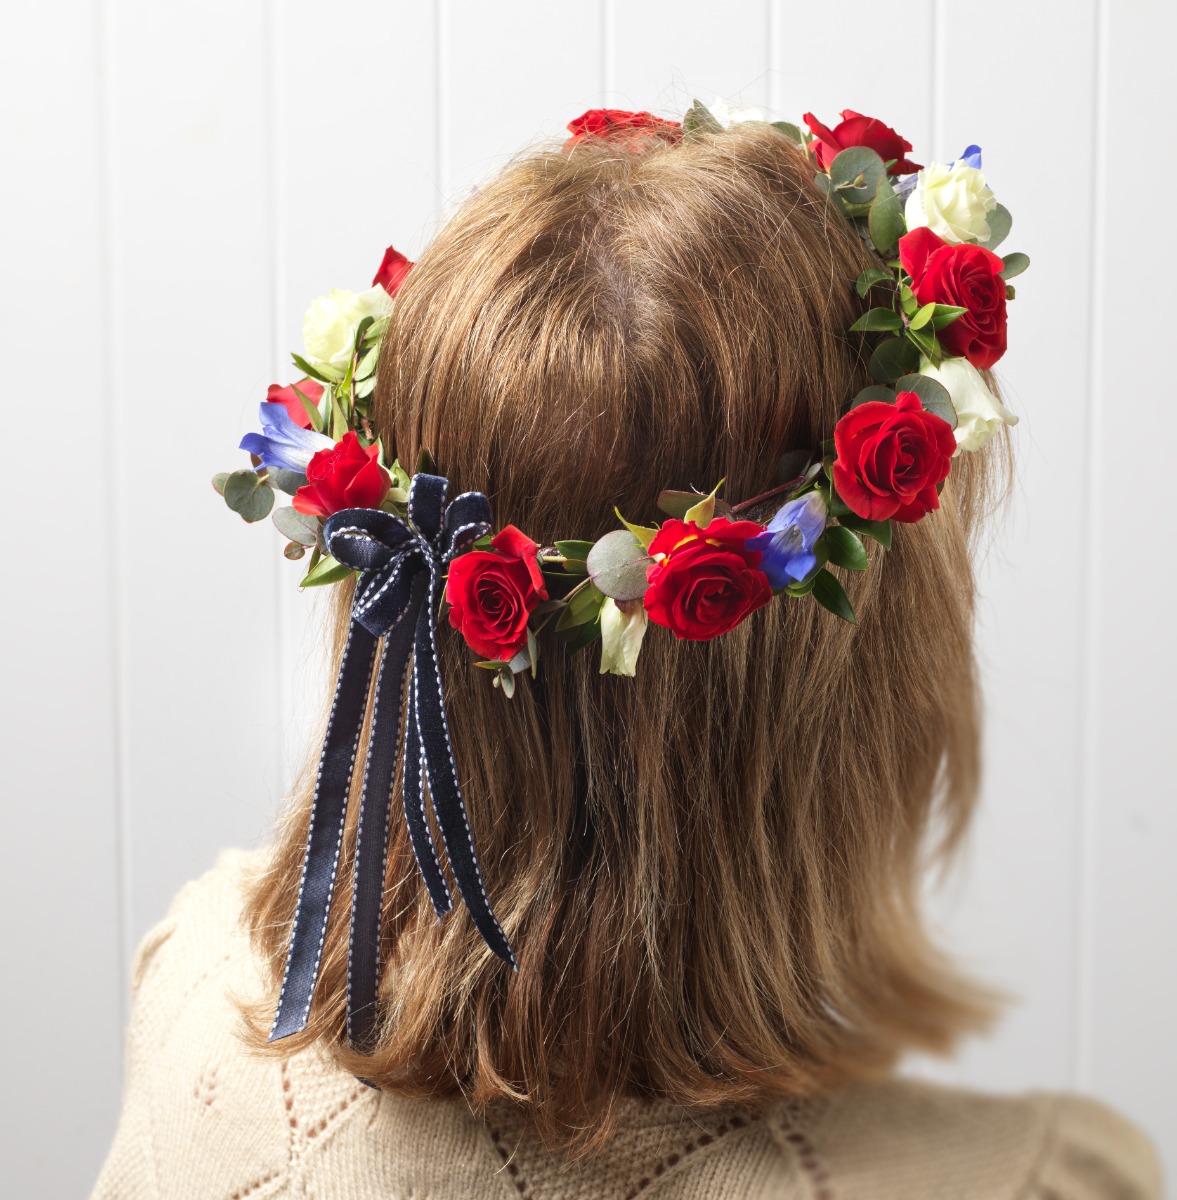
We hope you enjoy making your regal flower crown and don’t forget to tag us in your creation on Facebook and Instagram!
About the Author
Related Products

20 Easy Christmas Flower Arrangement Ideas for Your Home
December 1, 2022

Step-by-Step Guide on How to Make Your Own Christmas Wreath
November 14, 2022

A Beginners Guide to OASIS® Floral Foam
September 23, 2022
How to Make a Fresh Flower Arrangement with Floral Foam
January 16, 2023
Trending: Patterns & Pastels
August 30, 2023
Spreading the Sunshine
May 26, 2023
How to: Coronation Flower Crown
April 12, 2023
The Best Easter Flowers and their Meanings
March 30, 2023
What are the Most Essential Tools for Flower Arranging?
March 13, 2023