In order to provide complete functionality this website needs consent to store browser cookies. If you don't allow cookies, you may not be able to use certain features on the website including, but not limited to; log in, or order services. It is recommended that you allow cookies.


Simple Flower Arrangement Ideas

Are you looking to delve into the world of DIY floristry? Maybe you’re not sure where to start, or where to look for inspiration? Well, you’ve certainly come to the right place with our guide to simple flower arrangement ideas.
At OASIS® Home & Hobby, we are community hub for amateur flower arrangers and DIY floral crafters. We offer plenty of inspiration and floral advice and, if you are a complete newbie to the flower world, we recommend you start with something simple. Get a feel of the flowers, foliage, floristry tools, and OASIS® Floral Foam, and start off with an easy DIY flower arrangement.
Here, we’ve put together our top three simple flower arrangement ideas, perfect for any occasion or season. So grab your tools and get creating, we hope it leads to more!
Top Three Easy DIY Flower Arrangements
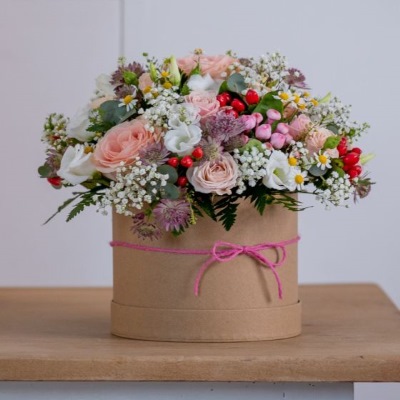
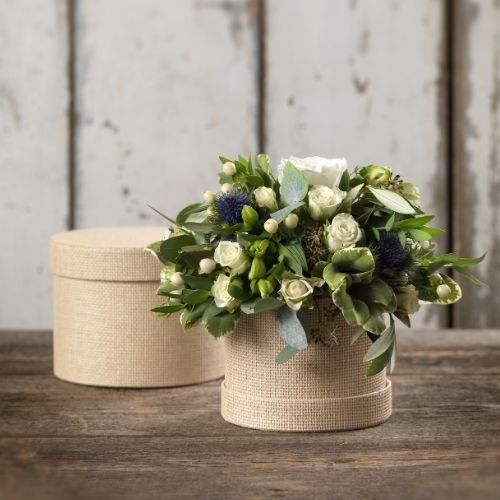
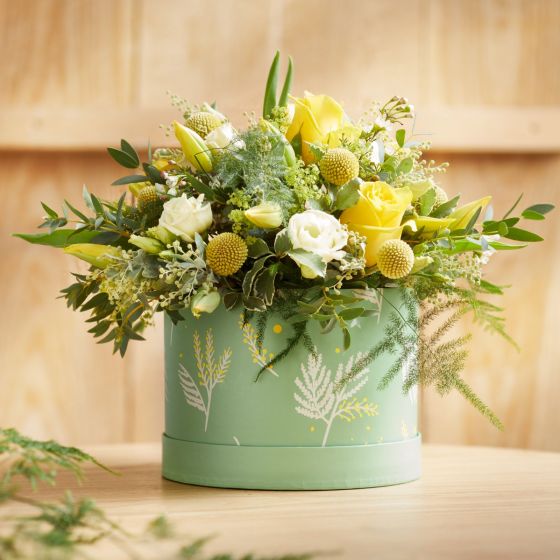
1. Happy Hat Box!
Why not have a go at making a floral hat box? It’s the perfect project to start with as they are a surprisingly simple floral arrangement to make but look super impressive! They make a fabulous gift for loved ones or would look great displayed in your home. You can have a lot of fun with a floral hat box, go as big or as small as you like with the arrangement – find your style.
You will need:
- OASIS® Floral Foam Brick
- OASIS® Floral Scissors
- OASIS® Floral Knife
- Symphony Hat Box
- Flowers and foliage of your choice
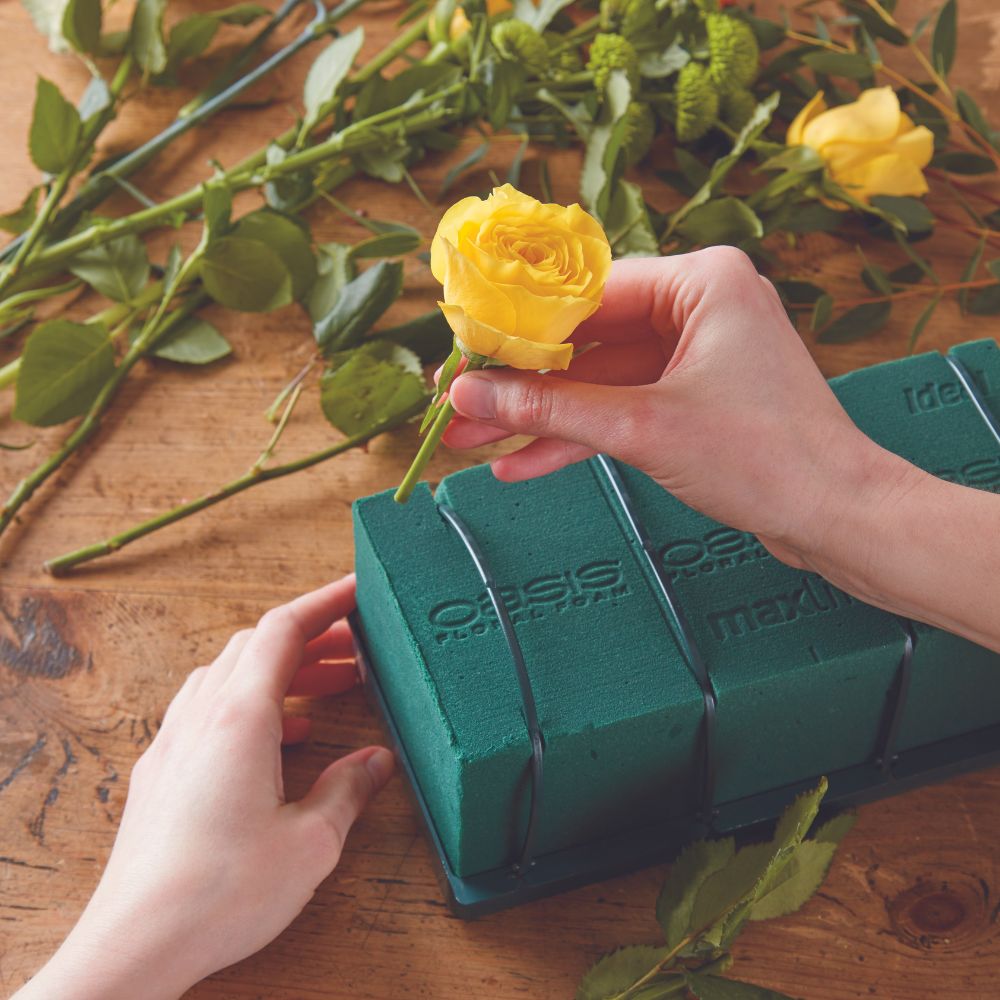
Step 1
Cut your OASIS® Floral Foam brick to fit inside the hat box. We recommend using about half of the brick.
Step 2
Soak your cut OASIS ® Floral Foam piece in a container or sink full of fresh water. Place on top of the water and let the foam soak the water up on its own – do not push into the water! This allows the OASIS® Floral Foam to soak as much water as possible.
Handy Hint: If you’ve never used OASIS® Floral Foam before, have a quick read of our complete beginner’s guide so you’re comfortable with this foundational floral craft supply.
Step 3
Gather your foliage and flowers and cut the stems to size with your OASIS® Floral Scissors. The longer your stems, the bigger your arrangement. Remember, you may need shorter stems around the edge of the hat box, to help cover any gaps.
Step 4
Now insert your foliage and flowers into the OASIS® Floral Foam. We normally start with foliage first, as it helps bulk out your arrangement, and then we insert flowers into any gaps. But have a play around and see what works for you! Don’t forget to stand back and check for any gaps when you are finished, and admire your handy work. Well done!
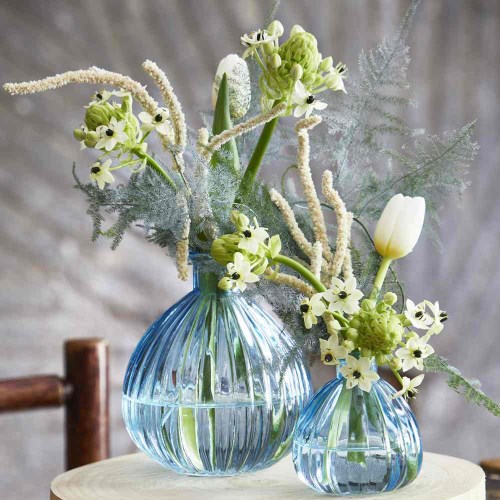
2. Budding Beautiful!
Bud vases (or bottle vases) are so cute and so versatile. You can dot these floral vases around your home and display with other home decor trinkets, such as candles. Or, group a couple of bud vases together to create a centrepiece or floral feature. You can either add single stems or dried flowers, or simply display on their own – a simple yet effective floral arrangement idea.
You will need:
- Bud Vase - we are loving the Eldora Vase
- OASIS® Floral Scissors
- A few flower and foliage stems
Step 1
Gather your bud vases and half fill with fresh, clean water. You can add a sachet of FloraLife Flower Food for extra floral care.
Step 2
Keep things simple. A couple of single stems is enough for bud vases, and we wouldn't recommend overfilling. Cut your stems to size using your OASIS® Floral Scissors and place in your bud vases.
Step 3
Have a play around - maybe cut some stems smaller than others, or why not group two or three vases together and only display flowers in one or two. It's all about finding your own style!

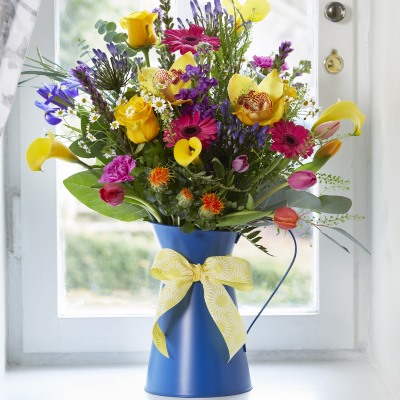
3. Charming Milk Churns & Jugs!
You can create the most beautiful simple floral arrangements using jugs and milk churns. Simply pick your favourite blooms and foliage, plus a jug or milk churn that takes your fancy, and go! They look stunning displayed around your home.
You will need:
- Jug or milk churn - the Elijah Jug is our current favourite!
- OASIS® Floral Scissors
- Flowers and foliage of your choice
Step 1
Grab your milk churn or jug and half-fill with clean water. You may want to line it with a waterproof film first, for extra protection.
Step 2
Gather your flowers and foliage and measure against the jug or milk churn. This is so you can determine how tall you would like your arrangement to be. With jugs and milk churns, you can go big with your design!
Step 3
Cut foliage and flowers to size with your floristry scissors and start placing into the jug or milk churn. We normally start with foliage, as this bulks up the arrangement. We then use flowers as a gap filler and to add a pop of colour! The good thing about jug and milk churn arrangements is you can easily remove and add flowers and foliage where you like. Have fun with this simple flower arrangement idea – you really can’t go wrong!
We hope these three simple flower arrangement ideas have sparked your creativity and provided you with inspiration to give DIY floral arrangements a go. At OASIS® Home & Hobby, we have all the beginner's floristry equipment you need for easy yet effective flower arrangements which you can display proudly in your home or gift to a loved one. We also have a range of floral arrangement inspiration over on our blog, with seasonal floral ideas and step-by-step guides.
Don’t forget to give us a follow on Instagram, Facebook, Pinterest and YouTube for even more floristry inspo! Tag us in your creations for a chance to be featured - we’d love to see your gorgeous simple floral arrangements!
About the Author
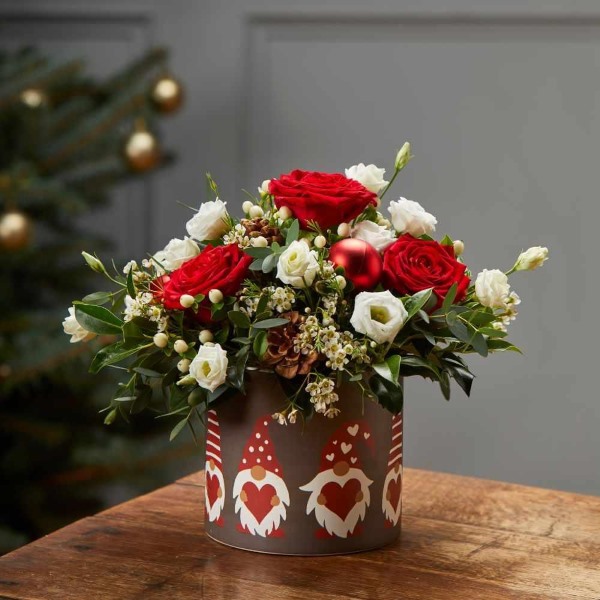
20 Easy Christmas Flower Arrangement Ideas for Your Home
December 1, 2022


A Beginners Guide to OASIS® Floral Foam
September 23, 2022

Step-by-Step Guide on How to Make Your Own Christmas Wreath
November 14, 2022
How to Make a Fresh Flower Arrangement with Floral Foam
January 16, 2023
Trending: Patterns & Pastels
August 30, 2023
Spreading the Sunshine
May 26, 2023
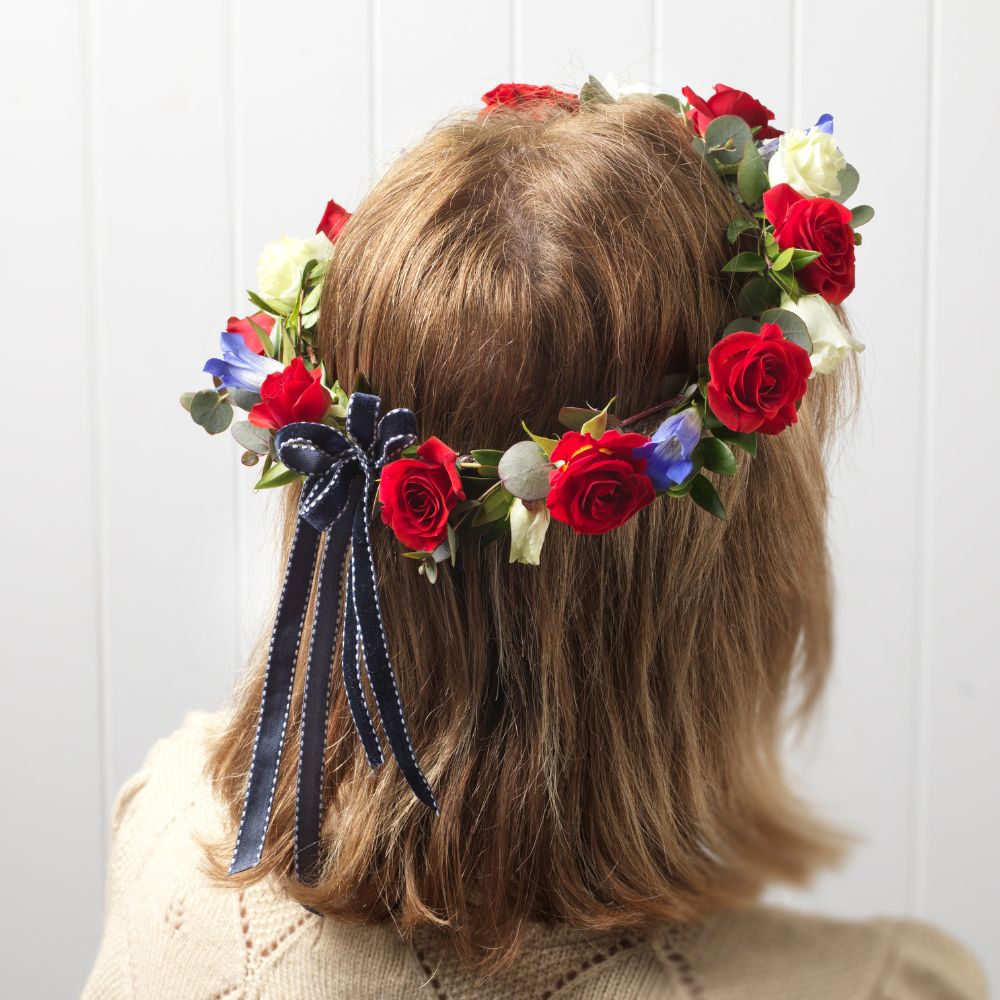
How to: Coronation Flower Crown
April 12, 2023
The Best Easter Flowers and their Meanings
March 30, 2023
What are the Most Essential Tools for Flower Arranging?
March 13, 2023